Want to learn how to edit videos on iphone and make a striking social media clip in minutes? As of May 01, 2026, Apple gives powerful native tools that let you trim, adjust audio, and add filters right from your device. This guide shows you how to use the Photos app and other video editing apps to craft a polished final video.
You will learn to read the timeline, tap the right icon and use every essential button in the editor. Tips cover audio leveling, simple effects, and exporting so your video looks great for friends or followers.
By following step-by-step steps here, you’ll confidently edit videos on iphone and manage your media library with ease. Start small, practice the tools, and the rest will follow.
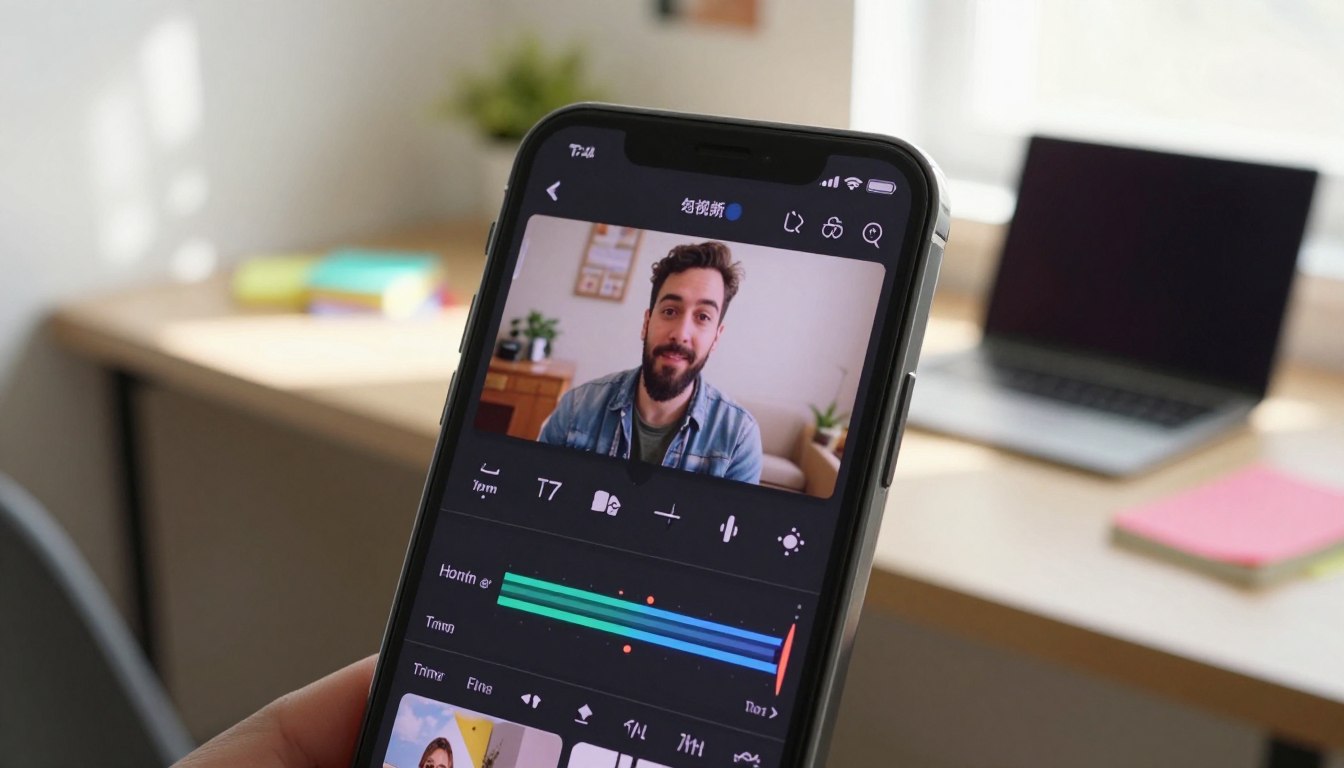
Getting Started with iPhone Video Editing
Start by preparing your device so you can capture and shape great clips with minimal fuss. First, update to the latest iOS to unlock Apple’s newest tools and stability fixes.
The built‑in Camera app records high-resolution footage and, on models like the 13 and 14 Pro, can shoot ProRes for richer color and detail. That extra quality gives you more room when you trim and color grade.
Working directly from the Photos app speeds the workflow. Your clips are already organized in one place, so you can quickly preview, trim, and arrange media without moving files to a computer.
Many creators find this approach faster for basic adjustments. The interface is intuitive, so you can perform complex edits with a few taps. By learning these core tools first, you’ll be ready to try advanced apps later.
How to Edit Videos on iPhone Using the Photos App
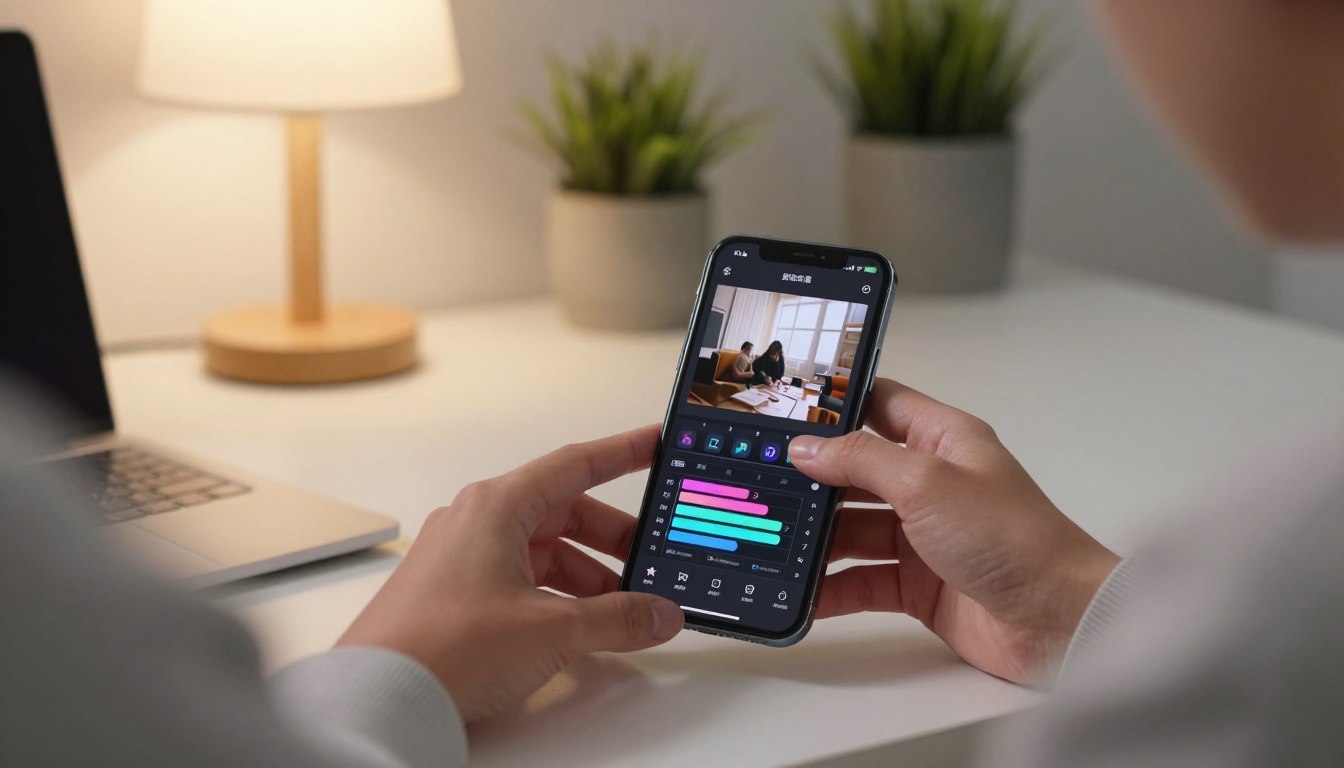
Open the Photos app to start refining a clip with simple, built-in tools. You can open video files from your library and tap the Edit button in the top right corner to enter the editor.
Understanding the Timeline
The timeline at the bottom screen shows your clip as a strip of frames. Drag the ends to trim video, or tap inside to split and remove middle sections. This visual view helps you pick exact in and out points for cleaner cuts.
Using Adjustment Tools
Use the tools to tweak exposure, highlights, shadows, contrast, and brightness. The filters icon applies presets and a dial adjusts intensity. Use the orientation icon to change aspect ratio or rotate for social platforms.
Speed control lets you slow or speed playback for dramatic effects. If sound needs fixing, use the audio options to balance levels. Tap Revert to Original if you want to undo changes.
The Photos app also lets you save video as a new clip so the original stays safe while you try different edits.
Mastering Video Trimming and Cutting Techniques
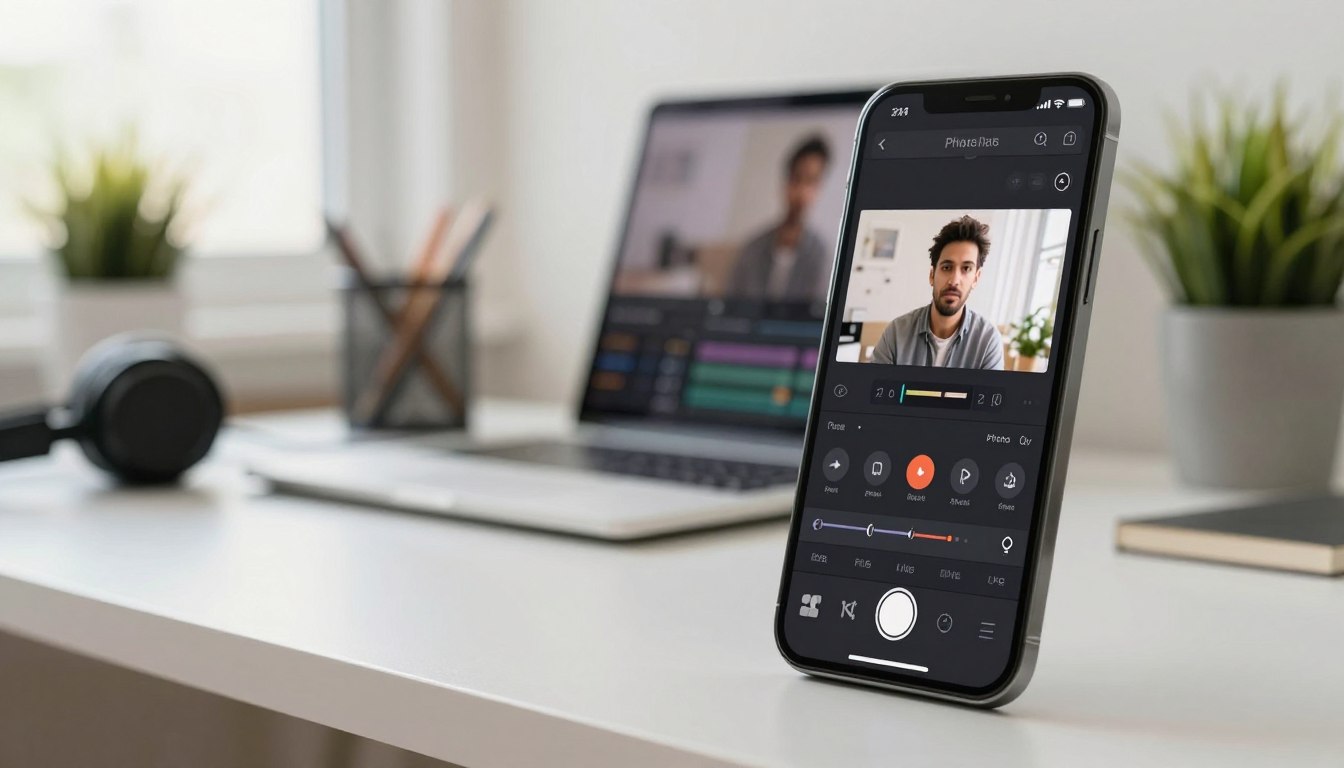
Removing dead space from the middle of a clip makes your story flow better. Start by trimming the start and end to remove accidental footage captured by your camera. This quick step often fixes pacing without deeper edits.
Removing Unwanted Middle Sections
To cut a middle part, first trim the original clip to the new start point and save video as a separate file. Then trim the remaining tail so you have two clean clips that surround the unwanted section.
Open the free iMovie app to stitch those clips together. In iMovie’s timeline you drag yellow handles to set exact start and end time for each piece. Use the scissors icon to split footage when you need precise cuts.
Always save your work as a new clip so you do not overwrite the original high-quality source. This workflow keeps every part intentional and helps your edits flow with professional rhythm.
Adjusting Visuals and Applying Creative Filters
A few precise visual tweaks change how viewers feel about your footage within seconds. The Photos app gives you a dedicated adjustment page with 14 settings, including saturation, vibrance, and warmth.
Use the bottom screen controls to toggle filters and preview each effect in real time. Tap the filter icon, then use the dial to set intensity so the look stays natural.
Adjustment tools also let you fine-tune brightness, contrast, and tint. Vignette and noise reduction add a cinematic touch or clean up low-light sound and grain.
All edits are non-destructive, so you can reset changes if the result does not match your plan. Icons are clearly labeled to help you find each button and tool quickly in the timeline or photos app.
Combine different adjustments to create a unique style. That color grading work helps your video stand out from raw clips and gives the final piece a consistent mood.
Enhancing Audio and Adding Music Soundtracks
Clear audio turns casual footage into a professional piece that holds attention.
Managing audio is as important as visual editing. When you open video files in the Photos app, tap the audio icon to access sound settings and mixes.
Managing Spatial Audio
If you use iPhone 16, iPhone 17, or iPhone Air models, Spatial Audio recording helps focus voices and reduce background noise.
Choose from Standard, In‑Frame, Studio, or Cinematic mixes to shape the scene. Cinematic places voices front and keeps ambient sound in surround for a movie-like feel.
Adding Background Music
You can add tracks from your library or use built-in soundtracks in the app to give your project a polished finish.
Use the timeline to balance levels so music never overpowers speech. Small fades and subtle sound effects between clips improve flow and maintain engagement.
Adjust the audio mix intensity and preview on the screen. With careful balance, each part of your video is heard clearly and feels professional.
Utilizing Third-Party Video Editing Apps
When you need more than the built-in Photos tools, external apps unlock templates, multilayer timelines, and AI assists that speed your workflow and improve the final look.
Exploring CapCut Templates
CapCut offers highly stylized templates that match TikTok and Instagram trends. Use a template to assemble a social media video clip fast, then tweak speed, filters, and sound to match your brand.
Using Adobe Premiere Rush
Premiere Rush gives a robust multi-layer timeline for precise control over audio and video tracks. You can split clips with a button, adjust settings, and stack graphics for a cinematic feel.
Leveraging AI with Videoleap
Videoleap uses AI to isolate subjects from backgrounds and suggest mood-based effects. Describe the mood you want, and the editor proposes tools and filters to reach that look.
Exporting and Sharing Your Final Video Clips
When your project is polished, the final step is to package and share the file. Use the Share button in the Photos app — the square with an arrow — to send your work to social media, mail, or messaging apps.
The Photos app saves progress automatically, so you can safely close the app before exporting. Choose Save Video as a New Clip if you want to protect the original source while sharing the finished version.
Be mindful of file size when sending by email; large files can exceed provider limits. For large, high-quality transfers, AirDrop to a nearby Mac preserves resolution and audio fidelity without compression.
Before you tap send, double-check the final clip in your library. Play the timeline from the start to confirm trims, effects, and sound levels are correct. Set export quality to the highest native resolution if you want the best playback on social media or a desktop screen.
Conclusion
Small, deliberate changes in timing and tone can transform casual footage into a standout clip.
Mastering how to edit videos iphone gives you a clear path to higher-quality video with minimal gear. Use the built-in Photos app or explore third-party apps and video editing apps when you need more control.
Experiment with filters, audio mixes, and cutting techniques. Always save video as a new clip so your original stays safe while you refine the final piece.
With steady practice you will grow more familiar with every icon and editor control. If you need device maintenance tips, see the factory reset guide for iPhone 15 for related help.